Introduction
This is my first build log, so here's some background on the project. This isn't a cooking website. I won't spend 2,000 words on how my dad had a cyberdeck and I played with it on his knee. Just a quick explanation of what I'm building and why.
While working on another small project, a kitchen timer, I noticed how much downtime I had waiting for things like PCBs to arrive. Running two projects in parallel made sense, especially since they overlapped in skills. I wanted something involving 3D printing and soldering, which brought me back to a cyberdeck, a project that's been on my to-build list for years.
I'd previously attempted a remix of the Virtuscope cyberdeck, but the original's parts were hard to source. The main blocker was finding an ISO keyboard that fit the design. I have an irrational dislike of ANSI layouts. Then I remembered a keyboard I'd bought on impulse a few months earlier: a KBDcraft Adam, built with a Lego enclosure and ISO layout. After building it, I preferred my existing keyboard, so the KBDcraft went into a drawer, where it sat for months.
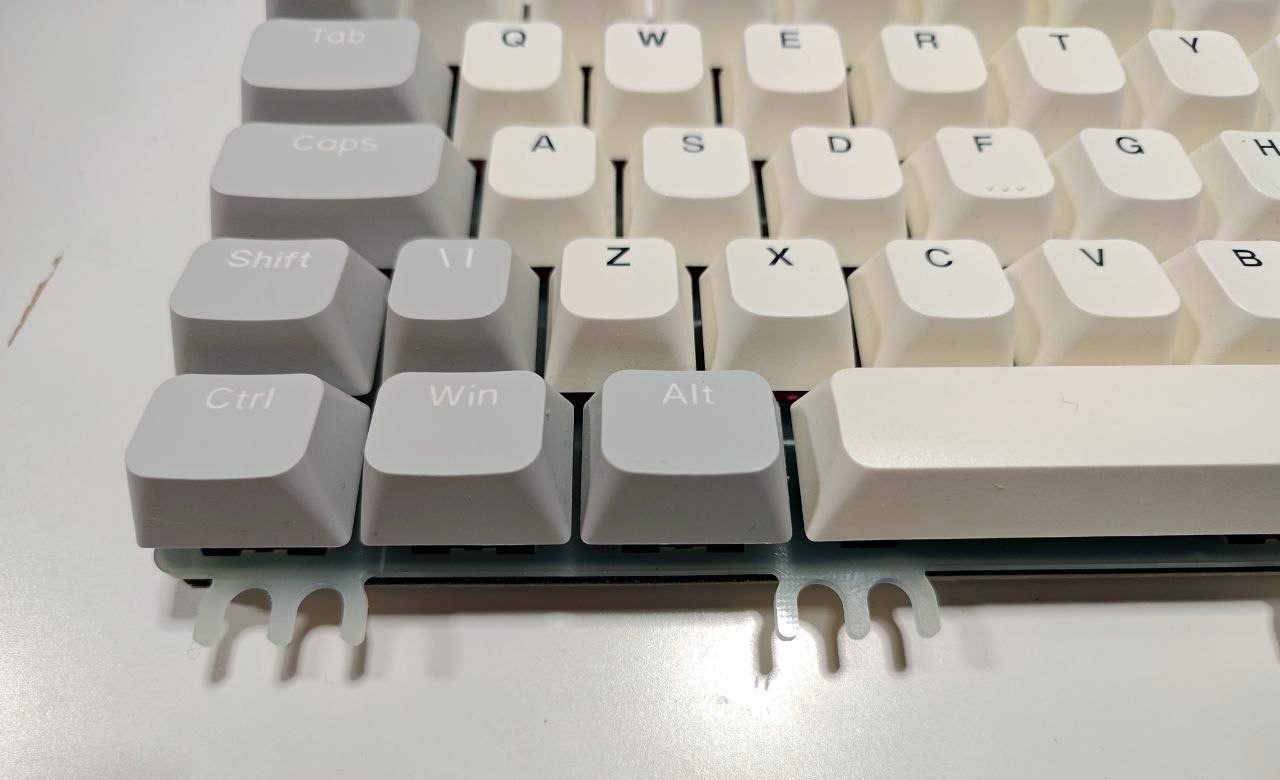
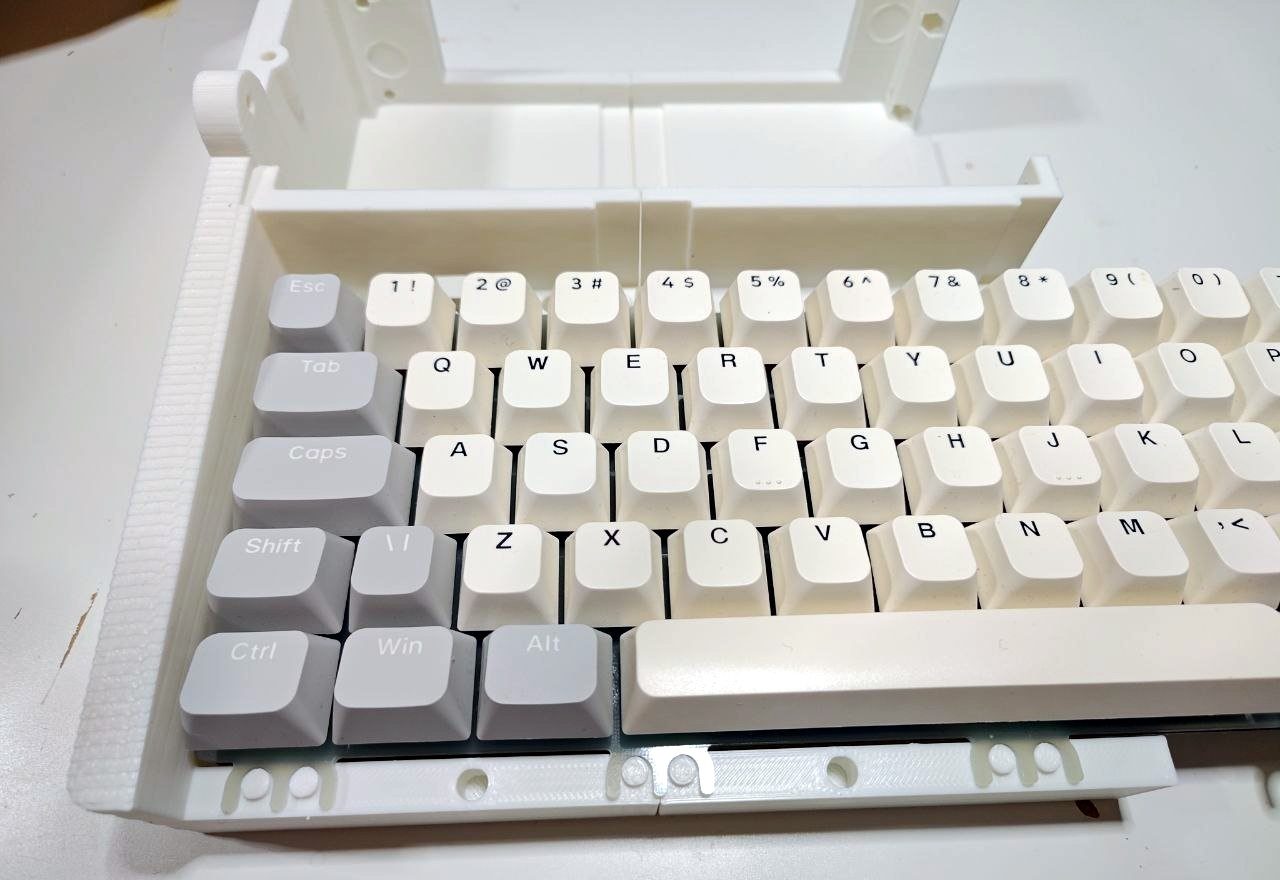
It turned out to be perfect for this project. The board mounts to its Lego case using small tabs that fit over Lego studs, easy to 3D print and resize. I downloaded the CAD files for the Virtuscope project and modified them to make it work. Then I got a little carried away with 3D model renders and custom viewers. I decided to start documenting the project as it progressed. The initial designs are done, I have a clear direction and aesthetic I'm aiming for, and I'm finally printing the first round of test pieces.
What I changed
Keyboard
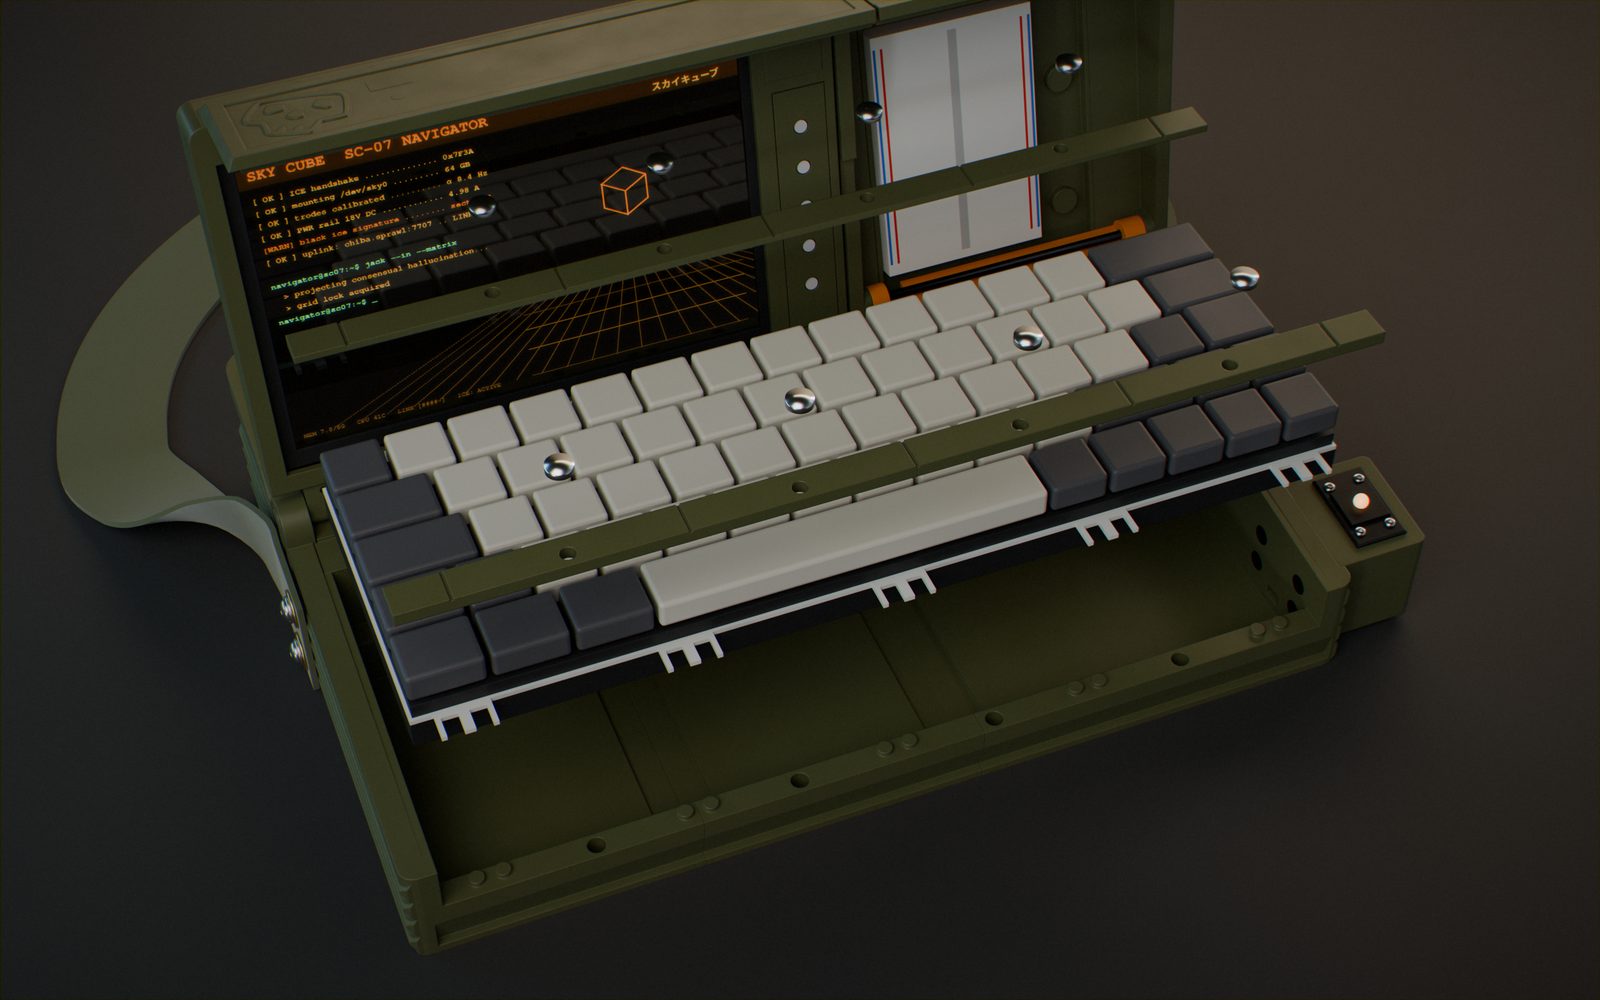
The biggest change is the keyboard. Instead of slotting in an existing keyboard, this one is mounted and fixed to the frame using pegs and screws.
Power
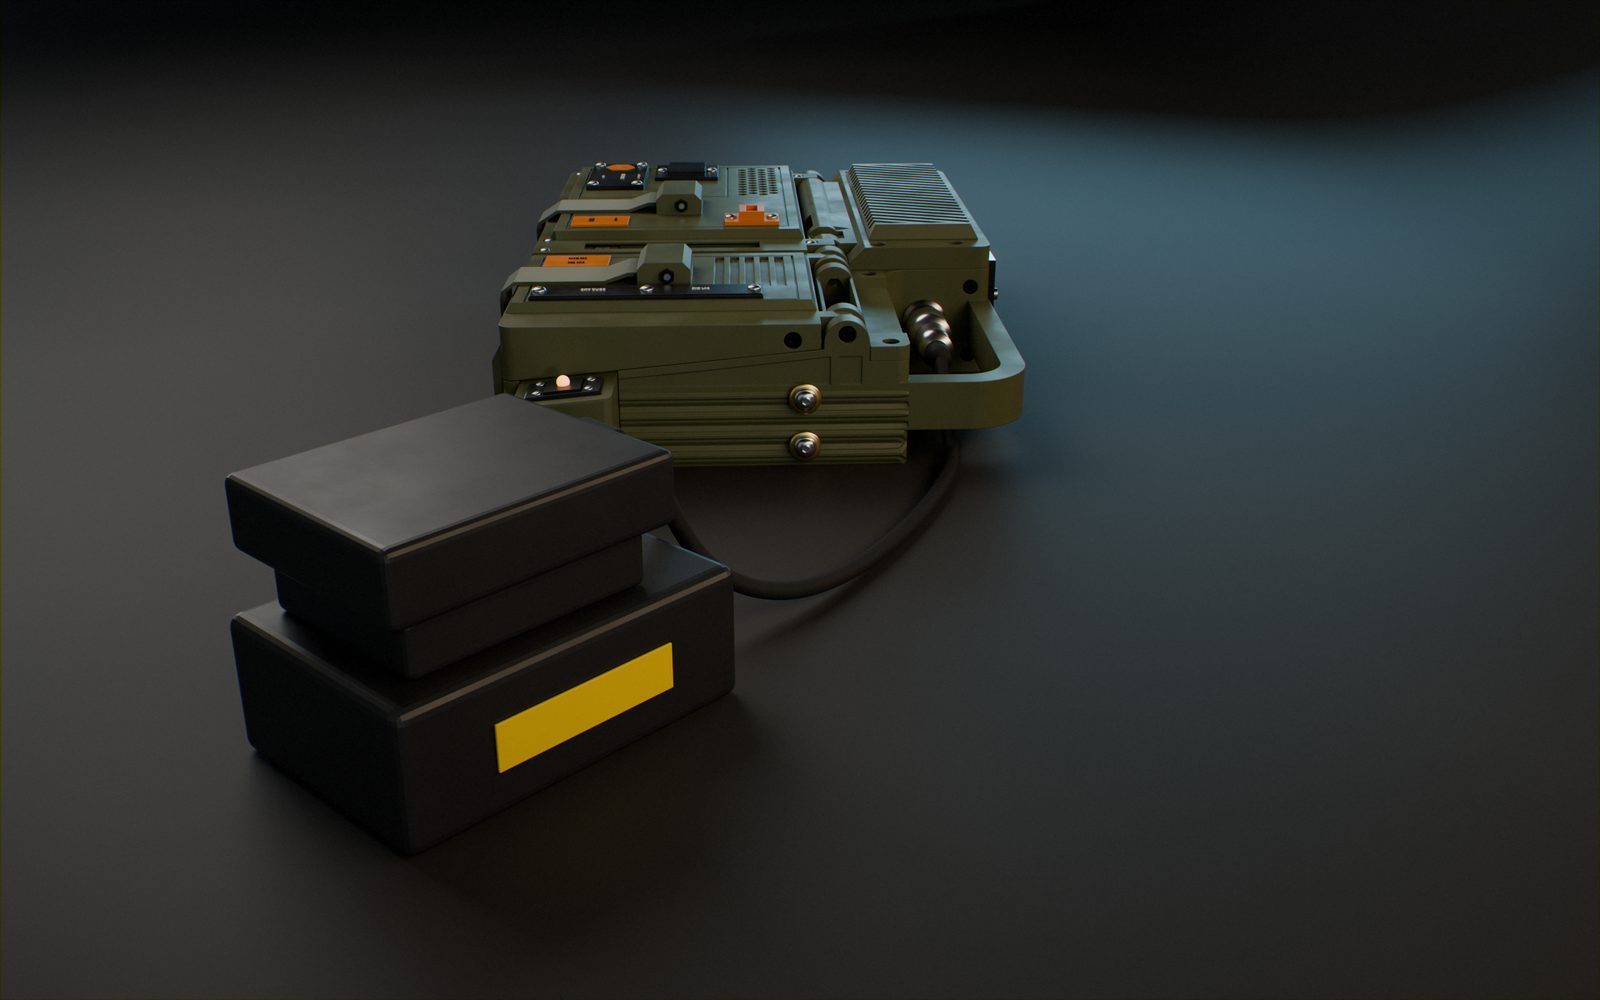
I decided against an internal battery and was instead inspired by Slurp Burgers' Slurptop, which uses a power tool battery mounted on the case. This is such a good idea: they are cheap, and you can find 3D models for the docks. I did go in a slightly different direction. My plan is to mount a GX16 socket inside the case, then buy or print (not 100% sure yet) an external mount for the power tool battery. The idea is that I can use either a 20 V laptop power supply or the battery with only one socket.
Mini lab
I actually want this to be useful, not just an art piece, so I decided to set it up as a mini lab of sorts. This means adding 3.3 V and 5 V power supplies, exposing the pins of the internal Pi, like the I2C, GPIO etc., and having a breadboard inside the case.
Trackball
I added a small trackball to the side of the case. Honestly, I will probably just use a mouse (I'm not a fan of trackballs), but I do want the unit to be mostly self-contained, and all it costs me is a cheap component, 4 screws and a bit of PLA, so why not?
The aesthetic
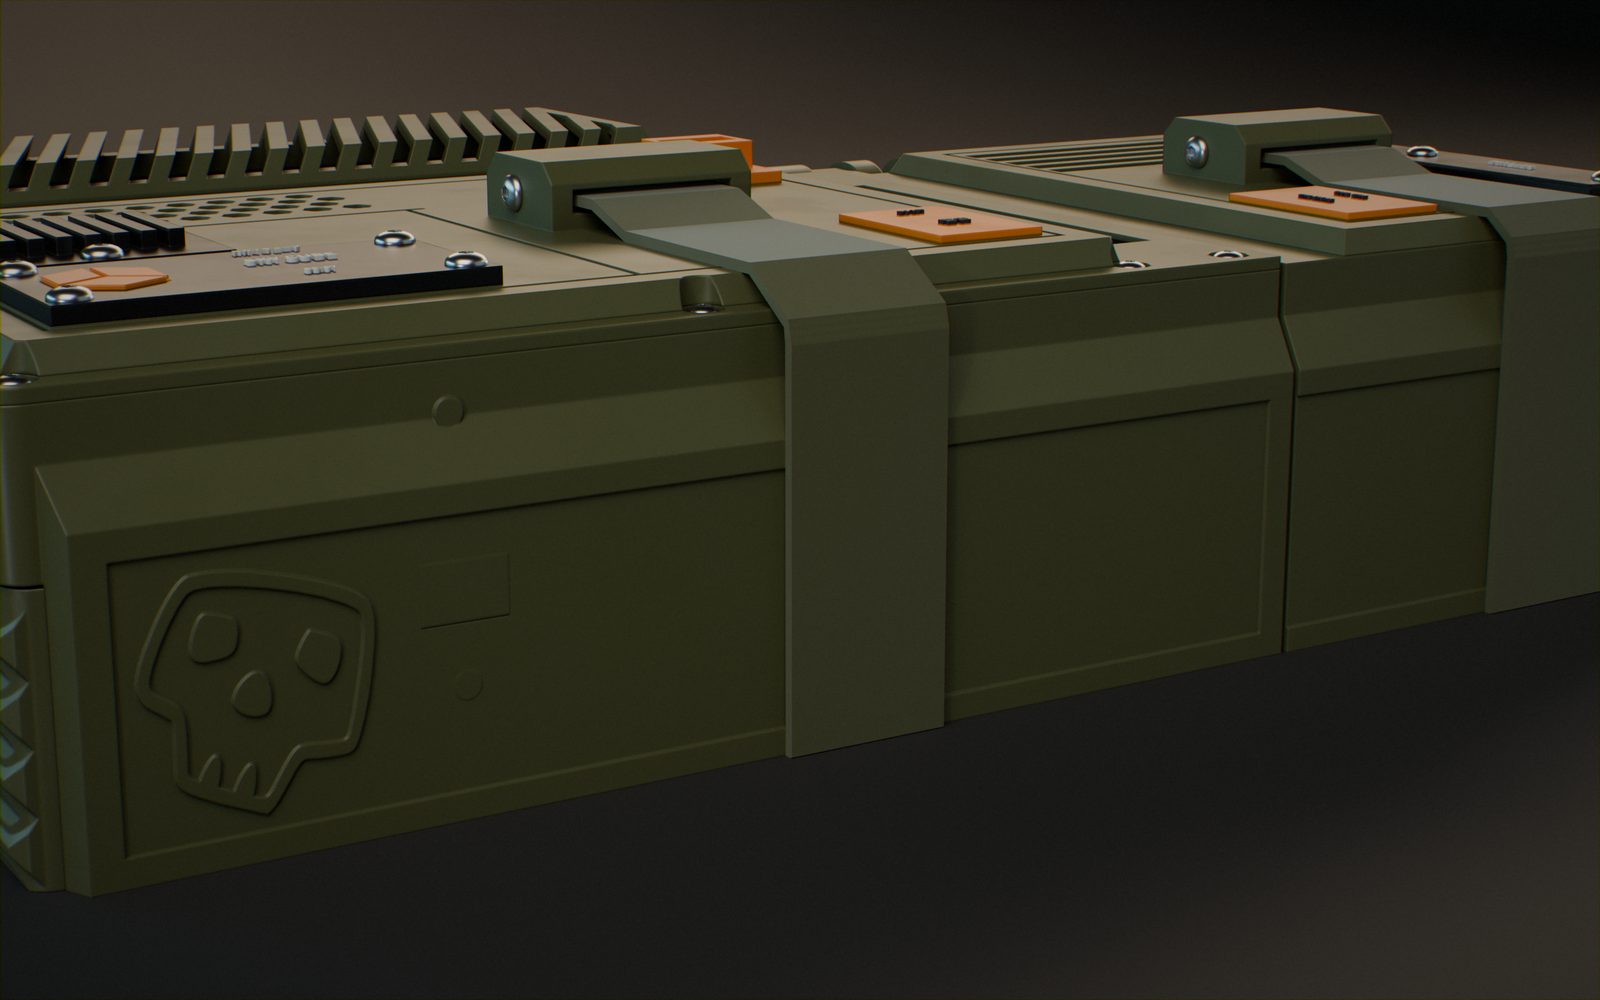
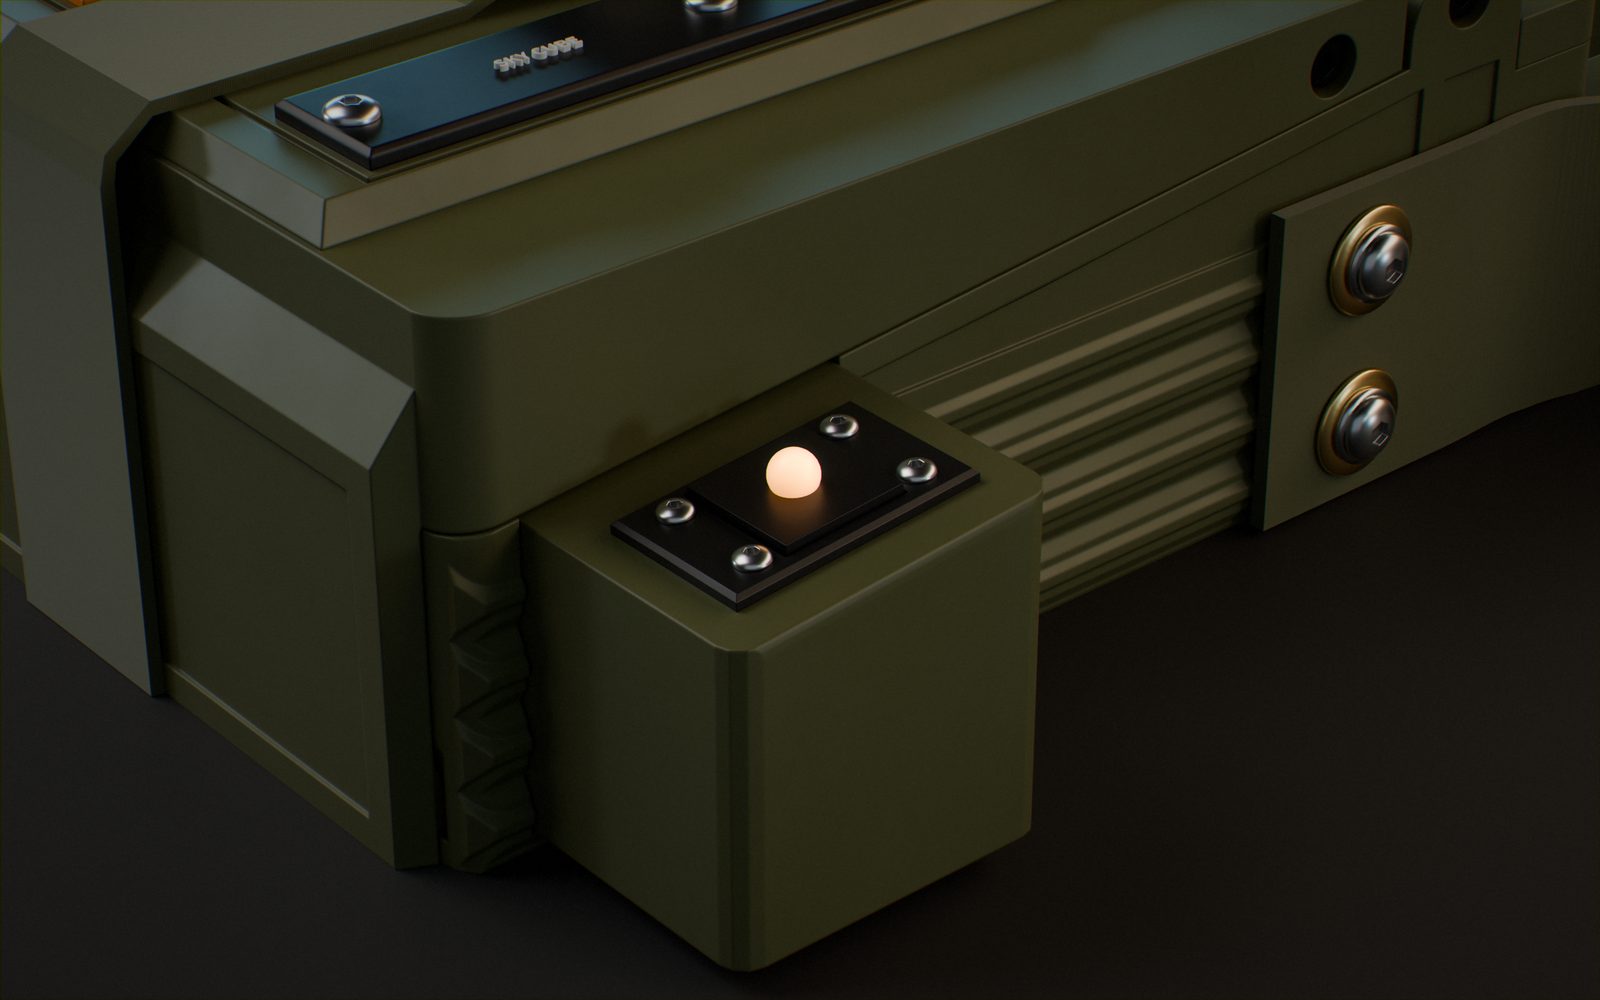
This aesthetic came out of necessity more than anything. One of the main complaints about the original Virtuscope design was that the lid didn't latch. Some people have tried embedding magnets in the print, but I wanted something more solid. I considered a toggle latch or a butterfly latch, but the case geometry made both tricky.
Then I had an idea: webbing. With a small modification to the lids, I could mount webbing straps on the top, and two small indents in the base could hold stick-back Velcro pads. Something about opening the case by pulling two Velcro tabs on the base just feels right. This kind of set the aesthetic for me: repurposed military tech.